

Retrieve the Identifier Number (UDID) for a Real iOS Device
5 Ways to Obtain iOS UDID for Mobile Development and Testing

What is UDID?
The UDID (Unique Device Identifier) is a 40-character alphanumeric code assigned to each iOS device. It serves as a unique identifier that helps differentiate individual devices. In mobile testing, particularly iOS app development and testing, the UDID plays an essential role for several reasons:
Importance of UDID in Mobile Testing and Development:
-
Device Registration:
Apple’s development ecosystem is strict about which devices can run non-App Store apps. To allow developers to test apps on physical devices, each device’s UDID must be registered in an Apple Developer account. Without registering the UDID, developers cannot install and run apps outside of the App Store on that device. -
Device Identification:
The UDID is used to uniquely identify each iOS device, ensuring that testing is conducted on the right device during the development process. This is particularly useful when a developer needs to test app performance, compatibility, or UI behavior on multiple devices. -
Ad-hoc Distribution:
For testing purposes, developers may distribute apps outside of the App Store (e.g., beta versions or prototypes). This process, known as ad-hoc distribution, requires the UDIDs of all the devices that will be used to test the app. Only devices with registered UDIDs can run the distributed app, ensuring control over which users can access the app during testing. -
Device-Specific Debugging:
When developers are testing on physical devices, knowing the UDID helps track device-specific issues. If a bug occurs on a particular device, developers can log the issue along with the UDID to troubleshoot and identify patterns across various devices. -
Provisioning Profiles:
To install an app on a physical device for testing, developers need to create a provisioning profile that includes the app’s bundle ID, developer certificate, and the UDIDs of all testing devices. This ensures that only authorized devices can run the app during testing phases, providing better control over app distribution. -
Security:
The UDID plays a role in maintaining app security during the development phase, ensuring that the app is not distributed to unauthorized devices. This is crucial for protecting intellectual property and preventing leaks of pre-release software.
The UDID is a crucial element in iOS mobile testing as it controls which devices can install and test apps, ensuring security, limiting access, and enabling testers and developers to efficiently debug issues on specific devices.
So how do we obtain UDIDs for the devices in our testing distribution?
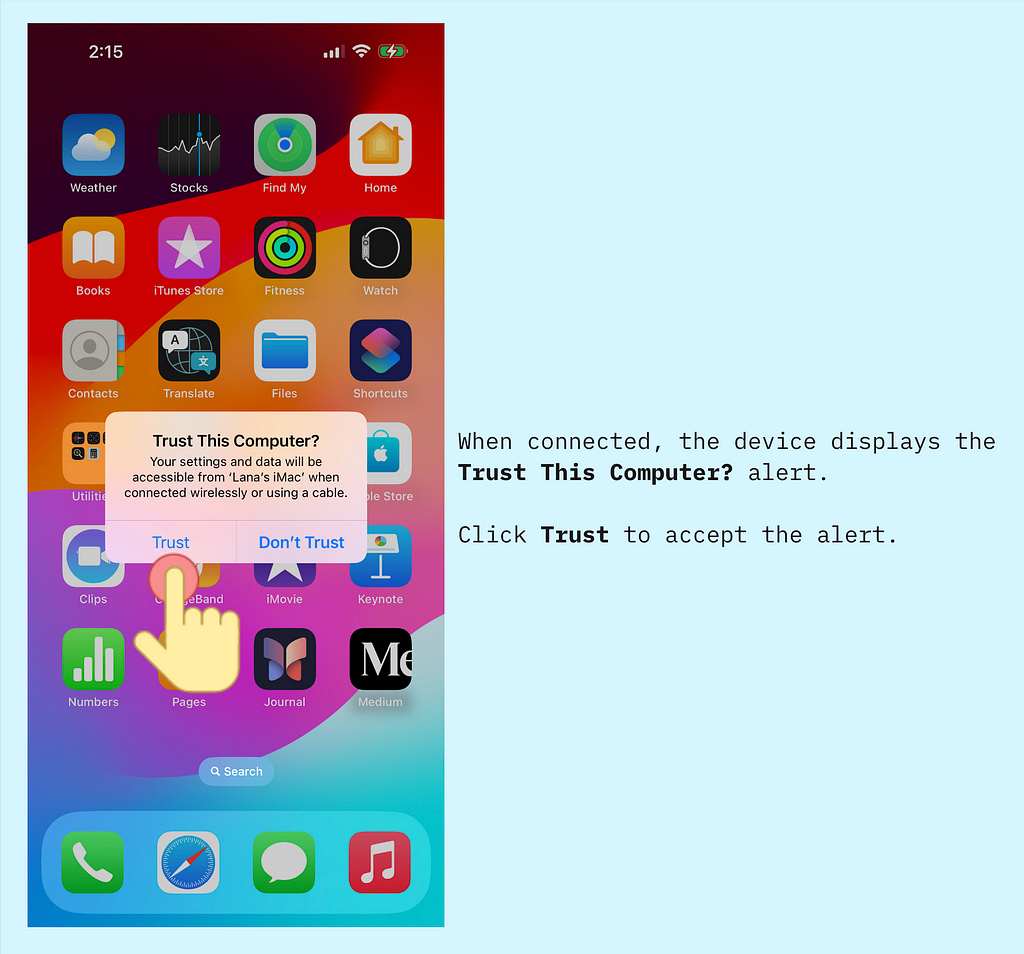
First, connect the device — iPhone, iPad, etc. — to a macOS computer via a USB cable. I am using macOS 14.6.1 Sonoma in this demo.
Now we are ready to explore the 5 ways of UDID retrieval.
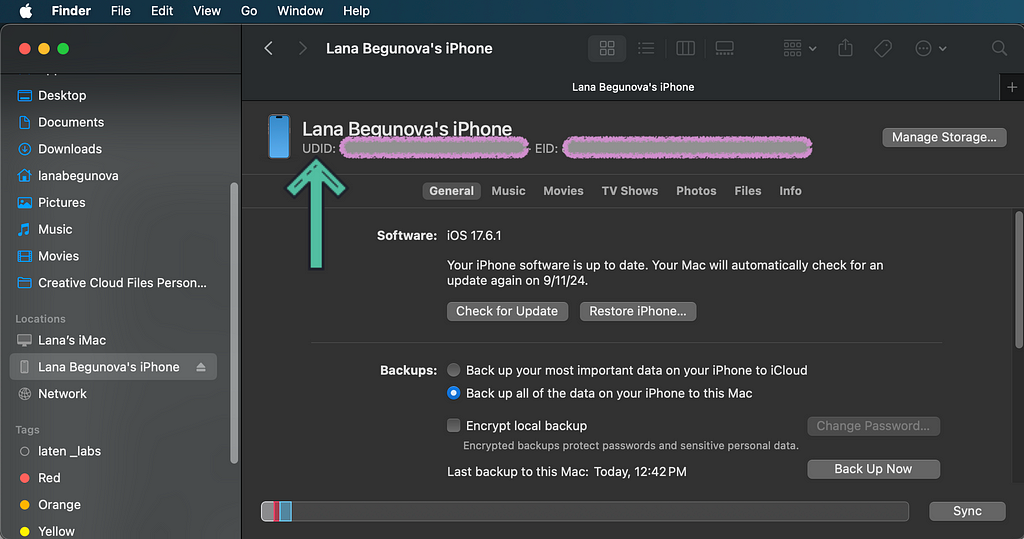
1. Finder App
Open the macOS Spotlight Search by pressing ⌘ + Space Bar on the keyboard. Search for the Finder app and open it respectively.

Click on the device name in the sidebar and copy its UDID.
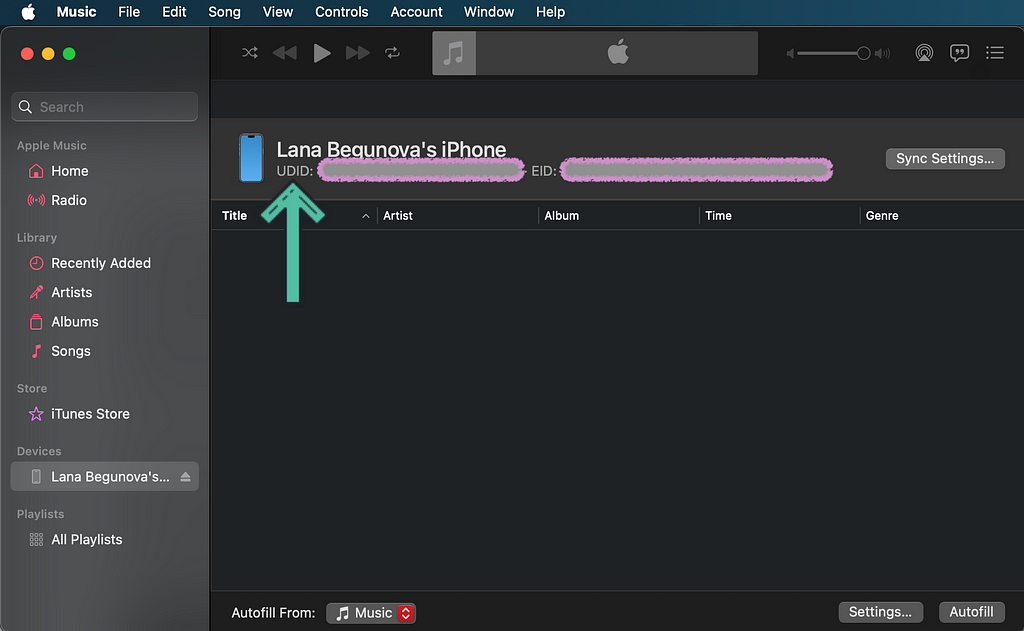
2. Music App
Find the Music app via Spotlight Search, just as we did above, and open it.

Click on the device name in the sidebar and then copy its UDID.
3. Systems Settings App
Find and open the System Settings app on the Mac machine.

Go to General > About > System Report:

In the sidebar, under Hardware, select USB. Then, under the USB Device Tree, select the desired mobile device:
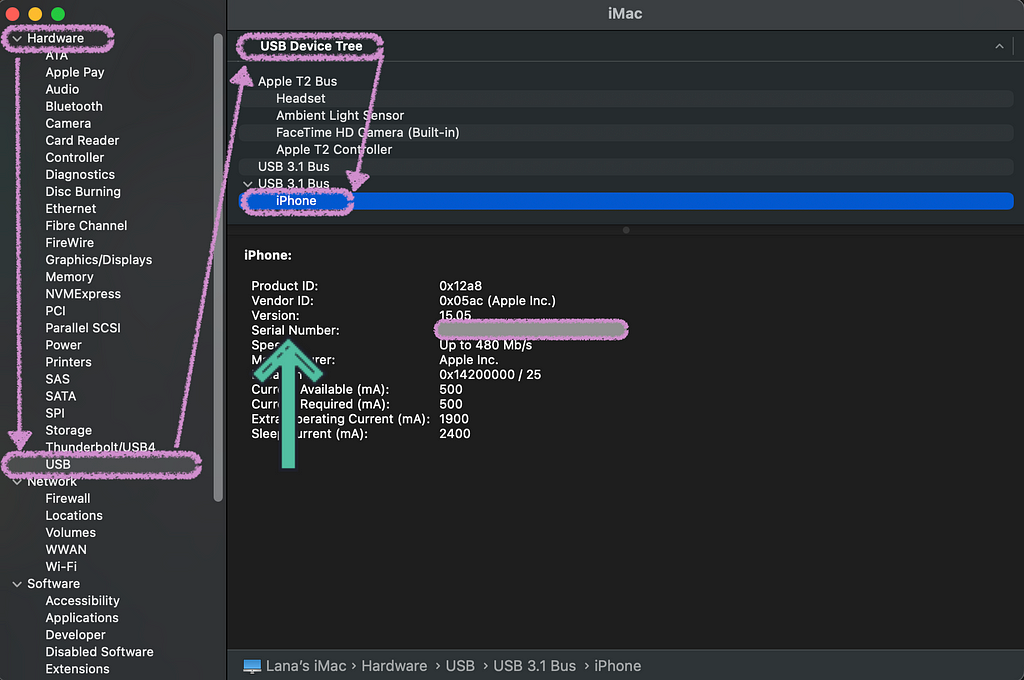
The Serial Number corresponds to the device UDID we are seeking.
4. Xcode
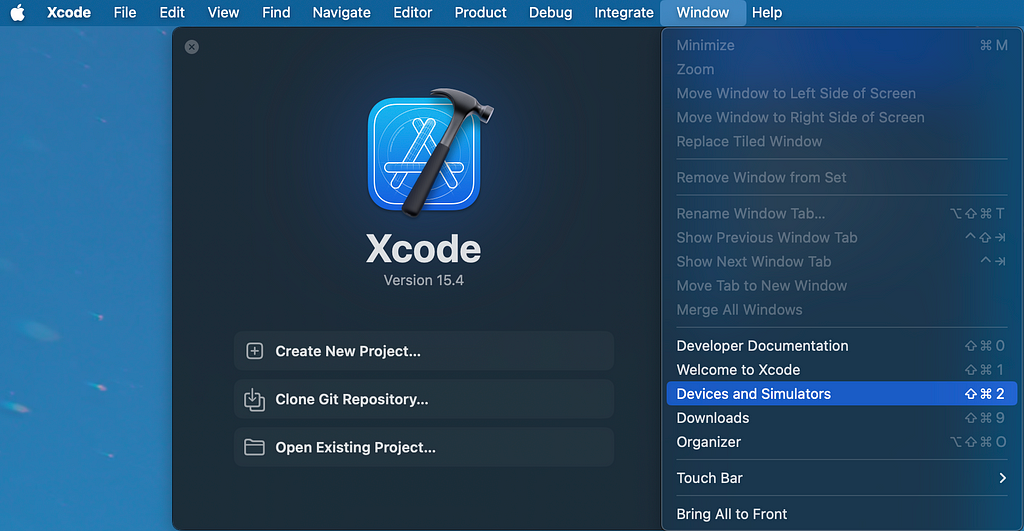
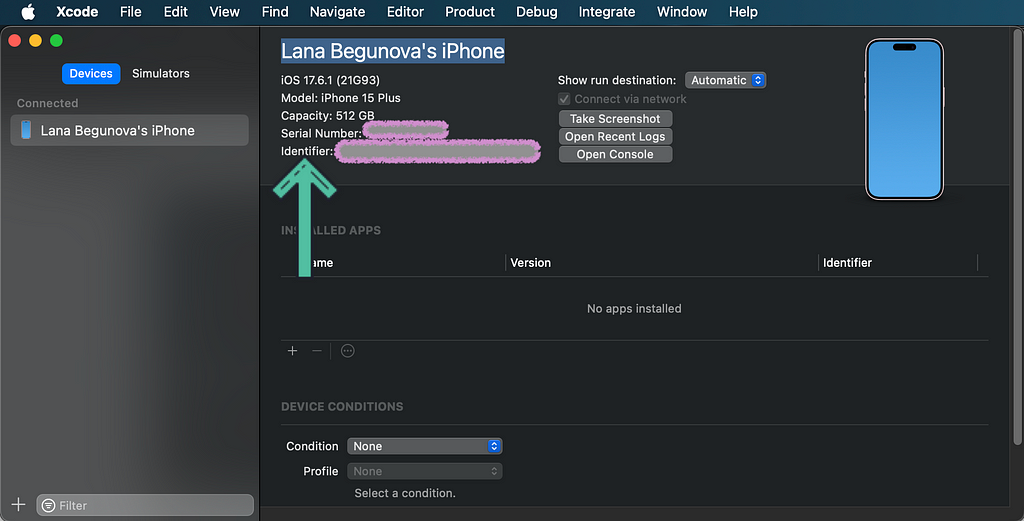
Make sure to have Xcode installed. With Xcode open, click on the Window menu, have a look at Devices and Simulators, and make sure the devices tab is open.
Now we are able to see our devices here, and can copy the string next to the identifier label.
5. xcrun xctrace Utility
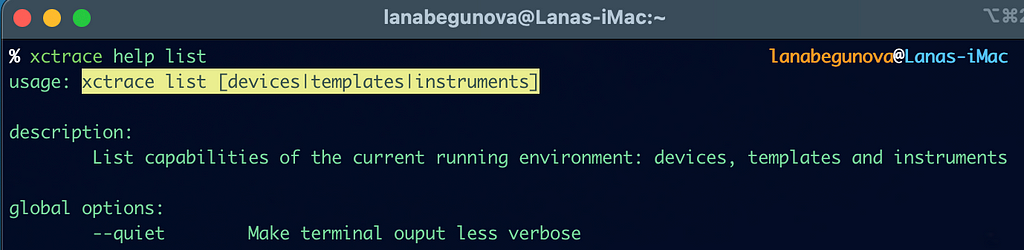
Run the xcrun xctrace list devices command from the terminal.
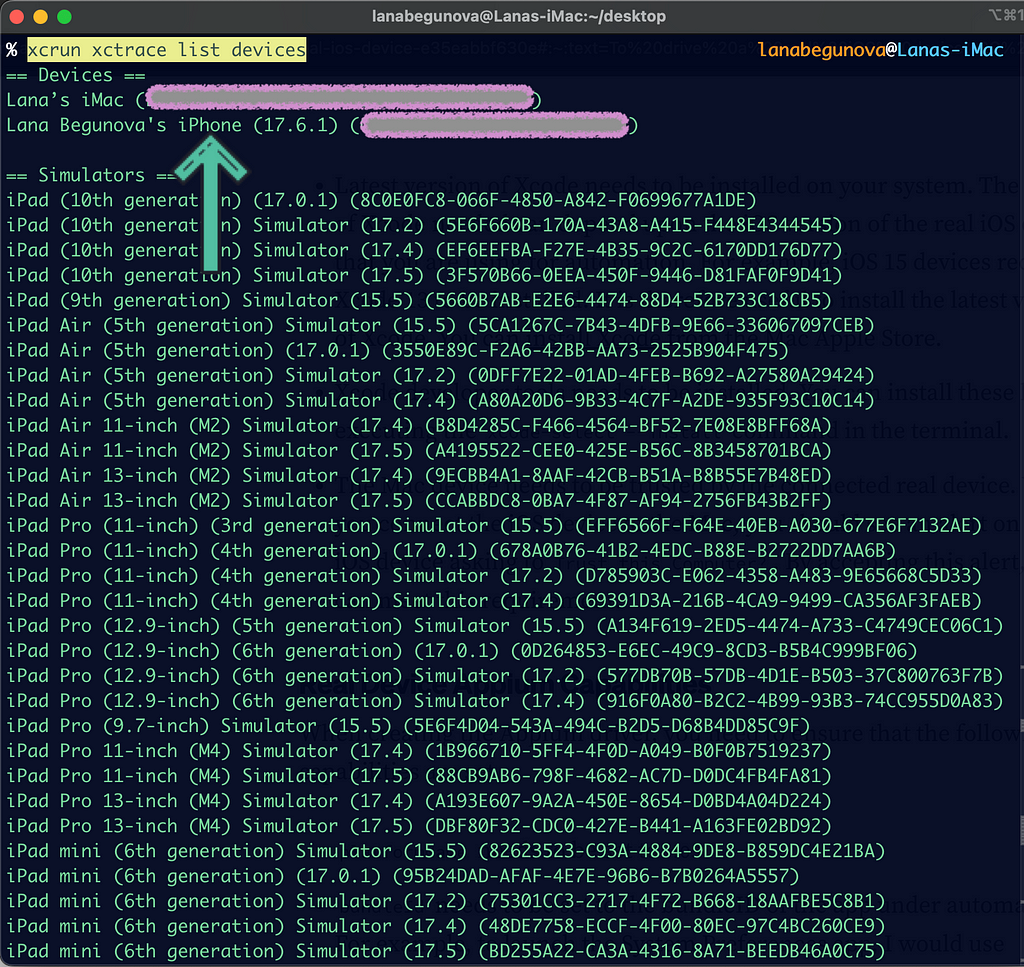
The command is compound:
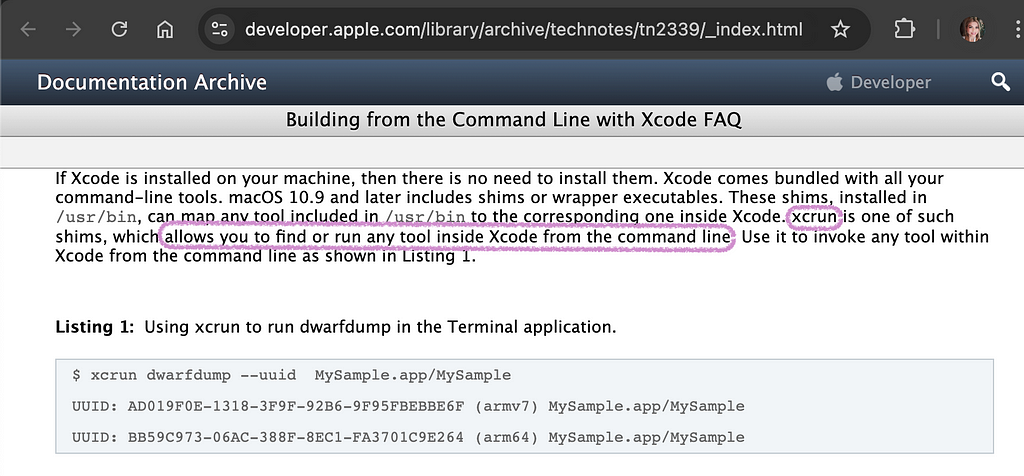
- xcrun provides a means to locate or invoke developer tools from the command-line, without requiring users to modify Makefiles or otherwise take inconvenient measures to support multiple Xcode tool chains.
- xctrace is used to record new Instruments.app .trace files using the specified recording template. It also allows for converting supported converting files of supported input types into .trace files and exporting data from .trace files to parseable formats like xml.
- list devices lists capabilities of the current running devices.

𝓗𝒶𝓅𝓅𝓎 𝓉𝓮𝓈𝓉𝒾𝓃𝓰 𝒶𝓃𝒹 𝒹𝓮𝒷𝓊𝓰𝓰𝒾𝓃𝓰!
I welcome any comments and contributions to the subject. Connect with me on LinkedIn, X , GitHub, or Insta. Check out my website.
If you find this post useful, please consider buying me a coffee.