

Playwright Java Tutorial: Web Automation Testing | How to check if element is displayed, enabled…
Playwright Java Tutorial: Web Automation Testing | How to check if element is displayed, enabled and selected?

In the previous Playwright tutorial, we learnt working with mouse hover actions. In this tutorial blog, we will learn to perform mouse hover actions over a WebElement.
Why is checking WebElement state important in test automation?
While performing test automation, we come across many scenarios where we need to check if the WebElement is enabled or disabled based on the condition under test.
Similarly, we are also required to perform checks related to WebElements like Radio buttons or Checkboxes if the respective WebElement gets selected on ticking it. Likewise, we also need to check if it gets deselected when the required action is performed on it.

There are scenarios where we perform basic assertion to check that the required WebElement is displayed on the web page or not. This step can further help us in interacting with the WebElement like clicking on it or verifying its text.

In the above example, before we continue with the actual tests on the web page, we can perform an assertion to check that we landed on the correct page by checking that the header is displayed and next verifying the text of the header.
These checks help us in performing assertions and help make the test more robust. It also helps as a fail fast technique by removing the flakiness as we are checking the element state before we interact with it.
Checking the WebElement state using Playwright Java
We will be performing the WebElement state check for verifying the different WebElement states like Enabled, Disabled, Displayed, Selected, etc. using the following test scenarios.
We will also be checking out the inbuilt powerful assertions provided by Playwright for smooth verification of the test scenarios.
But before we begin working on the test scenarios let’s write some code for the setup and configuration.

Let’s create a new test class TestElementState in the existing project. We will be adding two methods in this class for setting the configuration and gracefully closing the Playwright session.
public class TestElementState {

   private Playwright playwright;
   private Page page;

//..
}
The setup() method that has the @Beforeclass annotation over it will be executed before running any of the test methods. It will configure Playwright and start a new instance of Chrome browser.
@BeforeClass
public void setup() {
   this.playwright = Playwright.create();
   final Browser browser = playwright.chromium()
           .launch(new BrowserType.LaunchOptions()
            .setHeadless(false)
            .setChannel("chrome"));
   this.page = browser.newPage();
}
The tearDown() method will be called at the end to close the browser session after executing all the tests.
@AfterClass
public void tearDown() {
   this.page.close();
   this.playwright.close();
}
Test Scenario — Check if the WebElement is Disabled
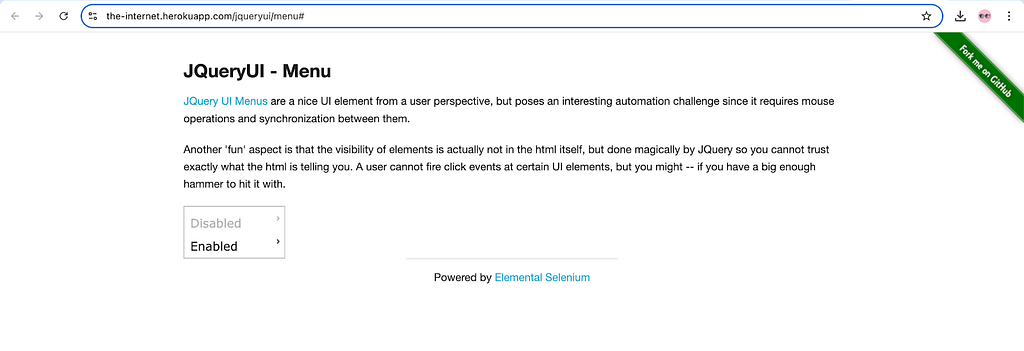
- Navigate to the JQueryUI — Menu on the The-internet herokuapp website
- Locate the Disabled menu
- Assert that it is disabled

Test Implementation
A new test method testElementIsDisabled() is created in the test class TestElementState that will implement the test scenario.
@Test
public void testElementIsDisabled() {
   page.navigate("https://the-internet.herokuapp.com/jqueryui/menu#");
   Locator disabledMenu = page.locator("#ui-id-1 > a");
   assertThat(disabledMenu).isDisabled();
}
Code Walkthrough
The code will navigate to the JQueryUI menu page and locate the disabled menu WebElement using the locator strategy of Playwright.

An assertion will then directly be performed using isDisabled() method, to check that the disabled menu is in disabled state.
Test Execution
The following screenshot from the IntelliJ IDE shows the successful execution of the test verifying that the disabled menu is in disabled state.

Test Scenario Check if the WebElement is Enabled
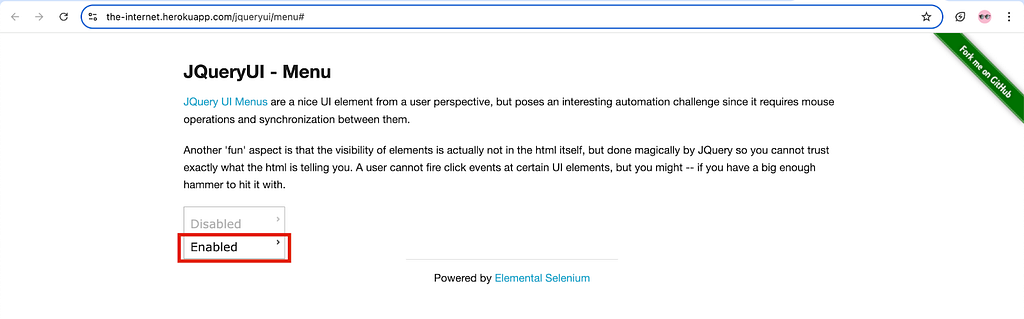
- Navigate to the JQueryUI — Menu on the The-internet herokuapp website
- Locate the Enabled menu
- Assert that it is enabled
Test Implementation
Let’s create a new test method testElementIsEnabled() inside the existing TestElementState test class for implementing this test scenario.
@Test
public void testElementIsEnabled() {
   page.navigate("https://the-internet.herokuapp.com/jqueryui/menu#");
   Locator enabledMenu = page.locator("#ui-id-3 > a");
   assertThat(enabledMenu).isEnabled();
}
Code Walkthrough
The Enabled menu WebElement is located using the locator strategy after the JQuery UI page is loaded successfully.
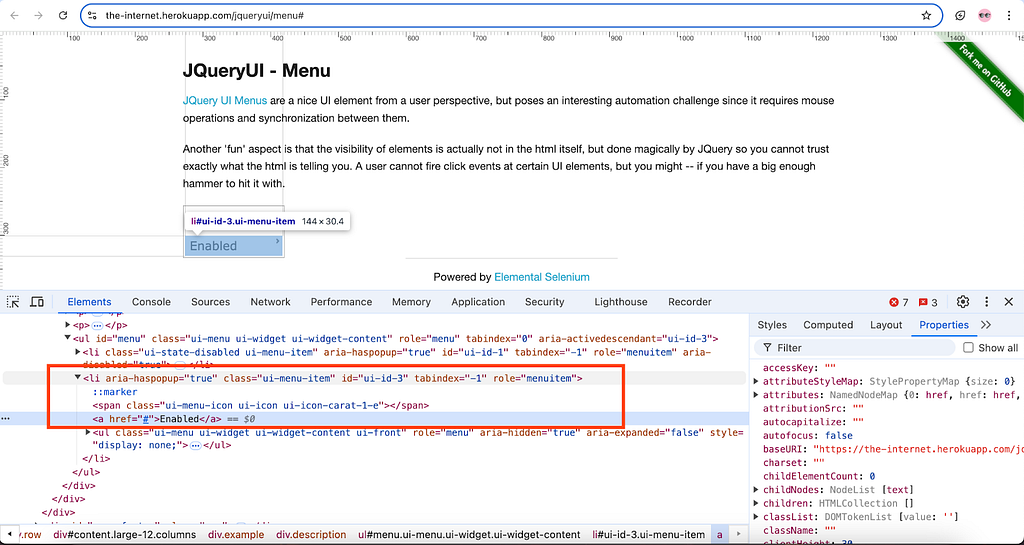
Next, an assertion is performed using the isEnabled() method of Playwright to check that the Enabled menu WebElement is in enabled state.
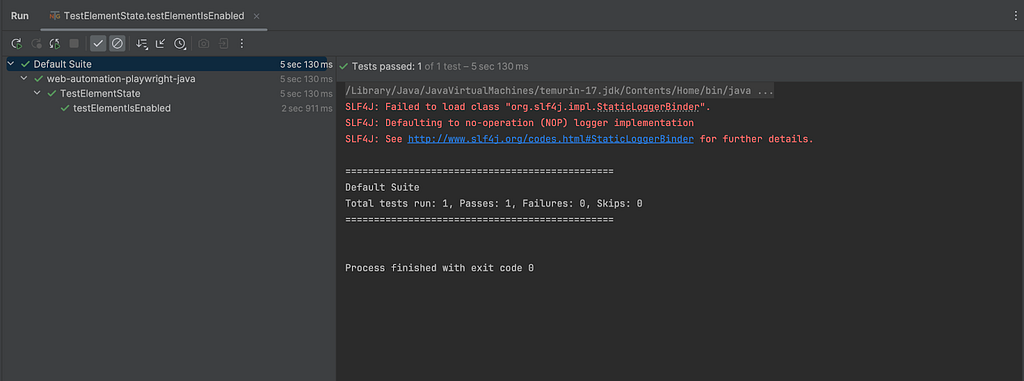
Test Execution
The following screenshot of the test executed using IntelliJ IDE shows that the test execution was successful.
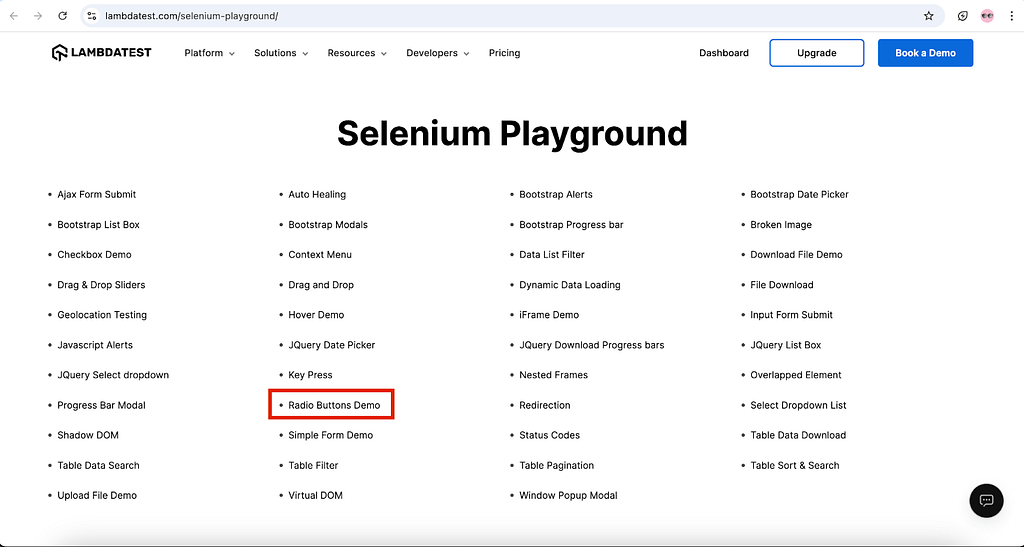
Test Scenario — Check if the WebElement is Displayed
- Navigate to the LambdaTest Selenium Playground website
- Locate the Radio buttons link and perform a click action on it
- After the Radio button demo is loaded, locate the page header “Radio button demo”
- Assert that the page header is displayed
- Assert that the page header has the text “Radio button Demo“

Test Implementation
Let’s create a new test method testElementIsDisplayed() in the same class TestElementState to implement this test scenario.
@Test
public void testElementIsDisplayed() {
   page.navigate("https://www.lambdatest.com/selenium-playground/");

   Locator radioButtonLink = page.getByRole(AriaRole.LINK, new Page.GetByRoleOptions().setName("Radio Buttons Demo"));
   radioButtonLink.click();
   Locator pageHeading = page.getByRole(AriaRole.HEADING, new Page.GetByRoleOptions().setName("Radio button Demo"));
   assertThat(pageHeading).isVisible();
   assertThat(pageHeading).equals("Radio button Demo");
}
Code Walkthrough
The Radio Button Demo link is located using the getByRole() method of Playwright that takes 2 parameters. The first parameter is the AriaRole, here it is a link hence, AriaRole.LINK is used as the first parameter.
The second parameter is the name of the link, i.e. “Radio Buttons Demo”, that is set using the setName() method of the GetByRoleOptions() class.
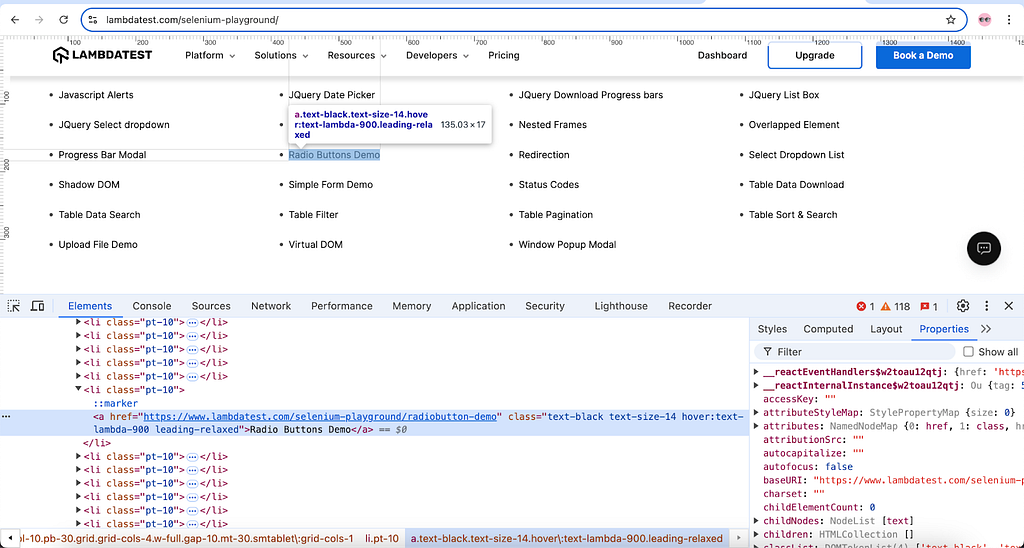
The next WebElement that is located in the page header Radio button demo that is displayed on the “Radio Button Demo” page. The same locator strategy getByRole() is used and here the first parameter is supplied as AriaRole.HEADING and the second parameter supplied is the heading text.

The isVisible() method is used with the inbuilt assertion of Playwright to check that the page header is displayed. Finally, another assertion is performed to check that the page heading has the text “Radio button Demo”.
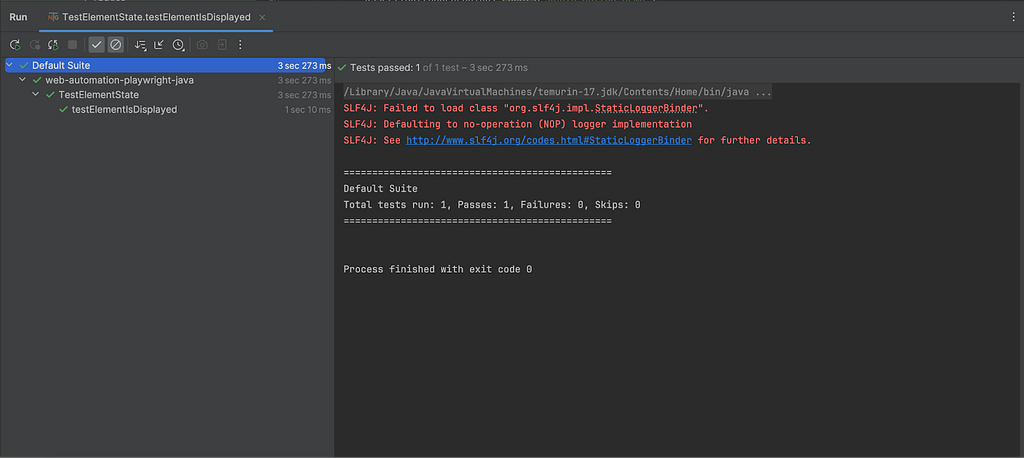
Test Execution
The following screenshot of the test execution from IntelliJ IDE shows that successful execution of the test.
Test Scenario — Check if the WebElement is Selected
- Navigate to the Radio Button Demo page on the LambdaTest Selenium Playground website
- Locate the Male radio button and select it
- Assert that the Male radio button is selected

Test Implementation
A new test method testElementIsSelected() is created in the same test class TestElementState to implement this test scenario.
@Test
public void testElementIsSelected() {
       page.navigate("https://www.lambdatest.com/selenium-playground/radiobutton-demo");
   Locator maleRadioButton = page.getByLabel("Male").first();
   maleRadioButton.click();
   assertThat(maleRadioButton).isChecked();
}
Code Walkthrough
After navigating to the Radio Buttons Demo web page, the Male radio button is located using the getByLabel() method. This method takes the label name as the parameter. The label “Male” is used to locate the WebElement.
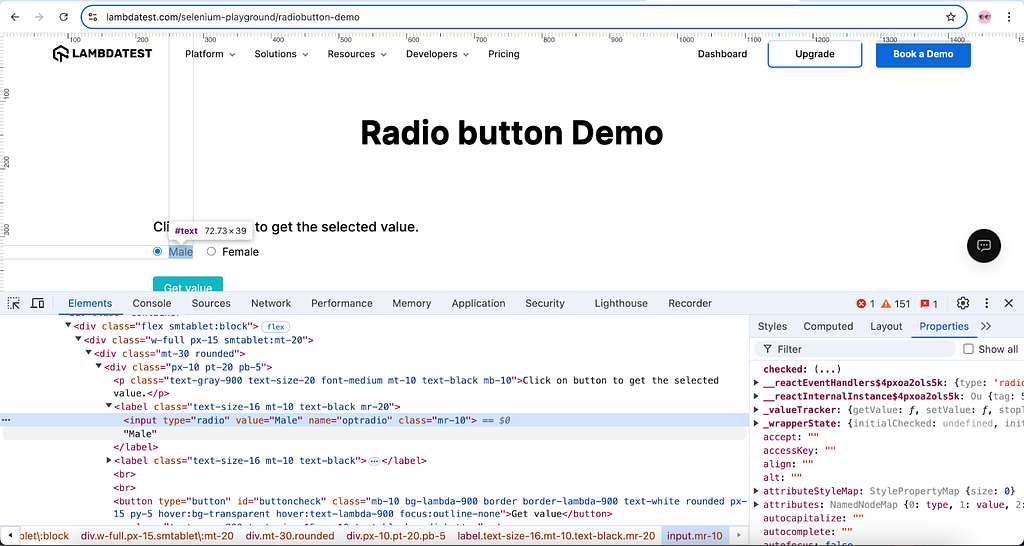
Since there are multiple radio buttons with the same label on the page, hence, the first() method is called here as it will consider only the first WebElement with the “Male” label and use it for interaction.
A click action is performed on the “Male” radio button next to select it. Finally, an assertion statement is used using isChecked() method to verify that the “Male” radio button is selected.
Test Execution
The test was successfully executed using IntelliJ IDE. The following screenshot shows the test execution details.

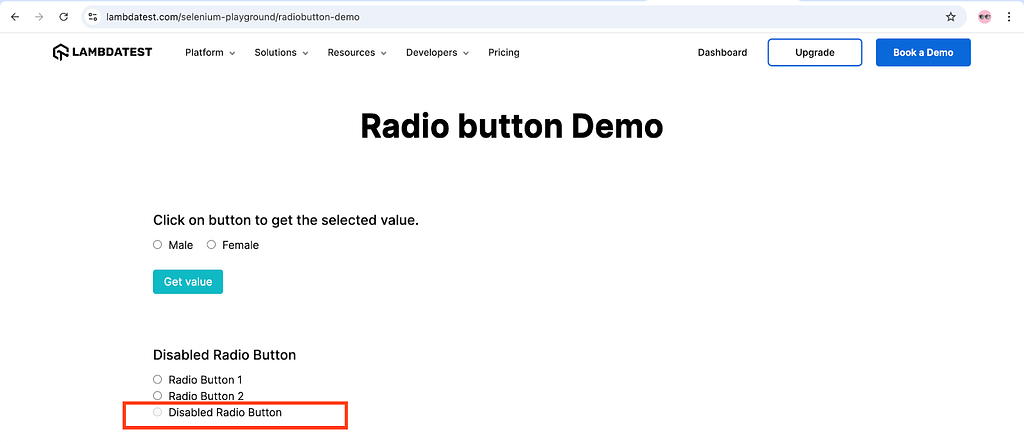
Test Scenario — Check if the Radio button is Disabled
- Navigate to the Radio Button Demo page on the LambdaTest Selenium Playground website
- Locate the Disabled radio button and select it
- Assert that the Disabled radio button is in disabled state
Test Implementation
Let’s create a new test method testRadioButtonIsDisabled() to implement this test scenario.
@Test
public void testRadioButtonIsDisabled() {
   page.navigate("https://www.lambdatest.com/selenium-playground/radiobutton-demo");
   Locator disabledRadioButton = page.getByLabel("Disabled Radio Button").first();
   assertThat(disabledRadioButton).isDisabled();
}
Code Walkthrough
The “Disabled Radio Button” WebElement is located using the getByLabel() method in which the label of the radio button is supplied as a parameter.

Next, an assertion is performed using the isDisabled() method of Playwright to check that the Radio button is in disabled state.
Test Execution
The following test execution screenshot from IntelliJ IDE shows that the test was successfully executed as expected.

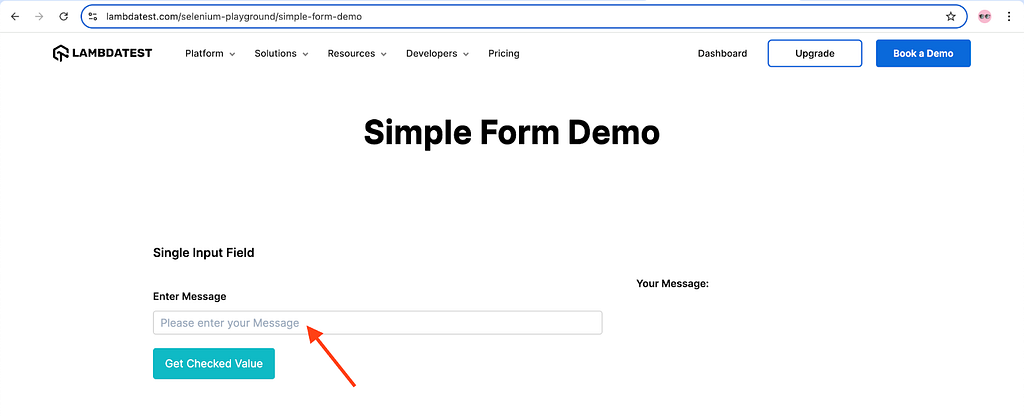
Test Scenario — Check if the Textbox is Editable
- Navigate to the Simple Form Demo page on LambdaTest Selenium Playground website
- Locate the Enter Message textbox
- Assert that the textbox is editable
Test Implementation
This test scenario is implemented by creating a new test method testTextBoxIsEditable() in the existing test class TestElementState.
@Test
public void testTextBoxIsEditable() {
   page.navigate("https://www.lambdatest.com/selenium-playground/simple-form-demo");
   Locator enterMessagField = page.getByPlaceholder("Please enter your Message");
   assertThat(enterMessagField).isEditable();
}
Code Walkthrough
After navigating to the Simple Form Demo page, the Enter Message field is located using the getByPlaceHolder() method. This method takes in the placeholder of the textbox as a parameter that is used for locating the textbox.

Now, to verify if the textbox is editable Playwright provides us with the isEditable() method that is used in assertion to perform the required check.
Test Execution
The following test execution screenshot from IntelliJ IDE shows that the test was executed successfully proving that the textbox is editable.

Summary
While working on test automation scripts, it is required to keep the basic methods for checking the WebElement state. This will help in checking the basics about the WebElement under test. So for example, if the WebElement like textbox is not editable, it won’t allow you to type in the values in it, hence, if we perform a basic check of verifying if it is editable, this will allow us to fail the test quickly and save time.
Similarly, other basics include checking if WebElement is enabled, disabled, selected, etc. These are common methods and can prove highly beneficial if used appropriately in the test automation scripts.
Happy Testing !!